
Chicken Milanese

Crispy Chicken Milanese is a delightful dish that elevates the everyday chicken breast into a golden, crispy masterpiece. The delightful crunch of the breadcrumbs paired with tender, juicy chicken creates a mouthwatering experience that feels satisfying in every bite. Imagine serving this dish at a casual family dinner or a festive get-together. It’s versatile enough for both occasions, gaining hearts all around the table. With its Italian roots, Chicken Milanese shines as a simple yet elegant dish that rivals any restaurant’s offering, and you can easily make it at home.
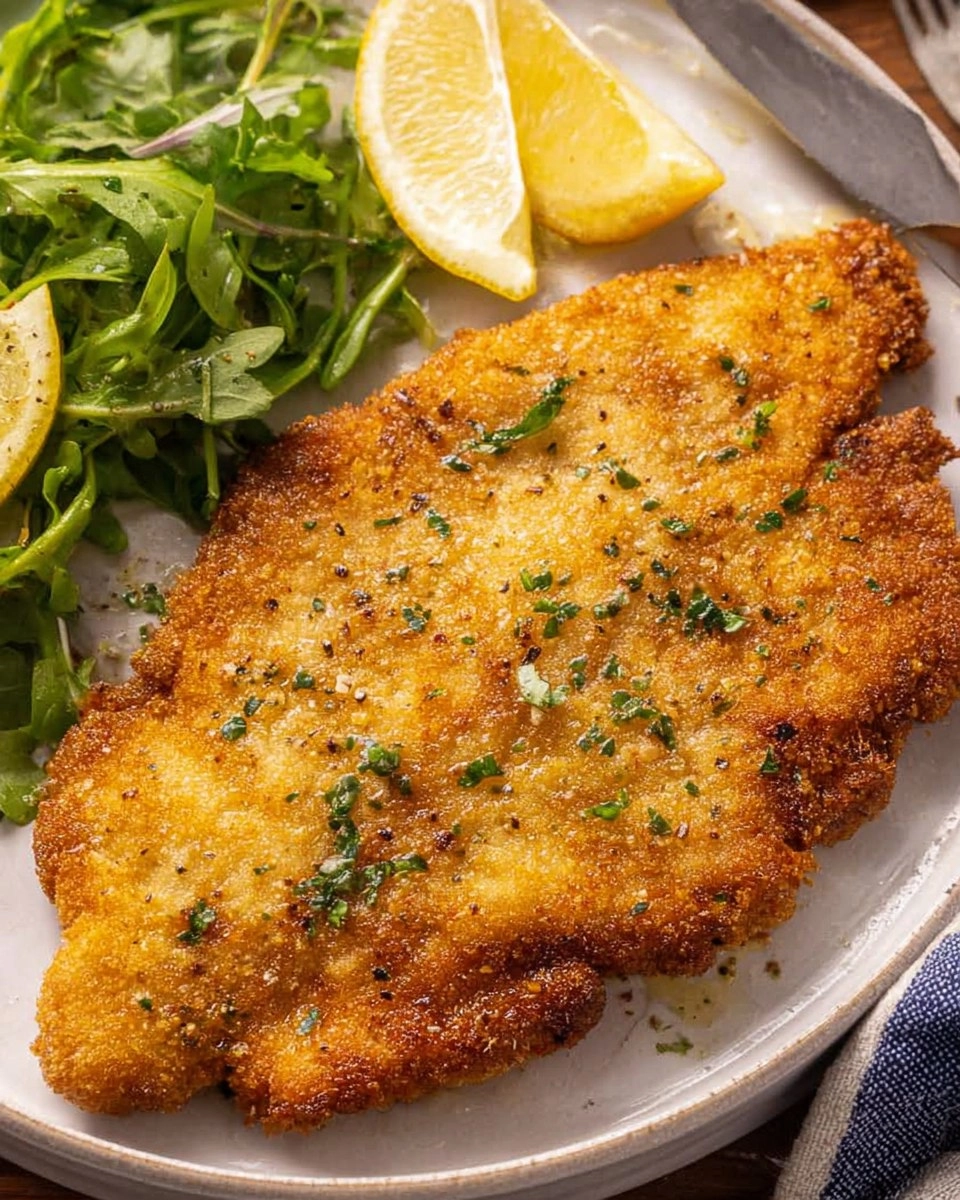
When I first discovered Chicken Milanese, I was captivated by its wonderful texture and flavor. It quickly became a staple in my kitchen, perfect for busy weeknights or when I wanted to impress guests with minimal fuss. This dish strikes a balance that appeals to almost everyone — luscious chicken that’s perfectly seasoned, all without a long list of complicated ingredients. Trust me; you’ll want to try this easy, budget-friendly recipe that’s bound to please your tribe and become a go-to in your weekly rotation!
Table of Contents
Why You’ll Love This Recipe
- Simple & Quick: Ready in just about 50 minutes, perfect for weeknight dinners.
- Irresistible Flavor: Crispy, seasoned breadcrumbs hug succulent chicken for a bite that dazzles.
- Eye-Catching Appeal: Golden-brown crust that’s not only delicious but also looks fabulous on the plate.
- Flexible Serving: Ideal for lunch, dinner, or even meal prep for the week ahead.
- Budget-Friendly: Made with everyday ingredients that are easy to find.
Ingredients You’ll Need
- 2 boneless, skinless chicken breasts: The main star of our dish, they stay juicy and tender when cooked right.
- ¾ cup all-purpose flour: Helps create that essential first layer of flavor and crisp.
- 1 teaspoon salt: Enhances all the flavors.
- ¼ teaspoon pepper: Adds a hint of warmth.
- 1 lemon, zested (optional): Provides a bright, fresh flavor; you can leave it out if you prefer more straightforward flavors.
- 2 eggs: These act as our glue, helping the breadcrumbs stick to the chicken.
- 1 cup fine seasoned breadcrumbs: The secret to that incredible crispy texture.
- ¼ cup canola or vegetable oil (plus more if needed): Helps create a beautiful fry and golden brown crust.
- Lemon wedges for serving: A squeeze of lemon adds brightness and enhances the dish beautifully.
How to Make Chicken Milanese
Prepare the Chicken: Start by butterflying the chicken breasts. Slice through completely to make two thin pieces, then lay them flat on a cutting board and cover with plastic wrap. Gently pound the chicken until very thin; this ensures even cooking and maximum tenderness.
Set Up Your Breading Station: Grab three shallow bowls. In the first bowl, combine ¾ cup all-purpose flour, 1 teaspoon salt, ¼ teaspoon pepper, and zest from the lemon if you’re using it. In the second bowl, whisk together 2 eggs until well combined. The third bowl will hold 1 cup of fine seasoned breadcrumbs.
Heat the Oil: In a large skillet, pour in ¼ cup canola or vegetable oil and heat over medium heat. You want the oil to come halfway up the sides of the chicken; feel free to add more if necessary for proper frying.
Bread the Chicken: Take each piece of chicken and coat it well in the flour mixture; make sure to shake off any excess. Next, dip it in the egg, letting the excess drip off before moving on to the breadcrumbs. Coat thoroughly and place on a plate; avoid overlapping.
Cook the Chicken: Once the oil is shimmering, carefully place the chicken in the skillet, ensuring not to crowd the pan. Cook for about 3-4 minutes on each side, or until golden brown and the chicken reaches an internal temperature of 165°F. If you’re doing this in batches, keep the cooked chicken warm in a 300°F oven on a wire rack set over a sheet pan.
Finish Up & Serve: If the chicken browns too quickly before reaching the proper temperature, you can transfer it to the wire rack in the oven set to 350°F until done. Serve hot with fresh lemon wedges on the side for a zesty kick!
Storing & Reheating
To store your crispy Chicken Milanese, let it cool completely before placing it in an airtight container in the refrigerator. It will stay fresh for up to 3 days. For longer storage, you can freeze it. Just wrap each piece tightly in plastic wrap and place them in a freezer-safe bag, where it can stay good for up to 3 months. When you’re ready to enjoy again, reheat it in a skillet over medium heat for about 5-7 minutes, or until warmed through and crispy again. The texture may change slightly, but a quick reheating will help refresh that wonderful crunch.
Chef’s Helpful Tips
- Avoid overcooking the chicken by monitoring the cooking time carefully. Thin pieces cook quickly!
- Use room temperature eggs for better adherence when breading.
- Consider using a cast-iron skillet for even heat distribution while frying.
- If using frozen chicken breasts, remember to thaw them overnight in the fridge for best results.
- Don’t skip the lemon zest; it adds a delightful brightness that elevates the dish.
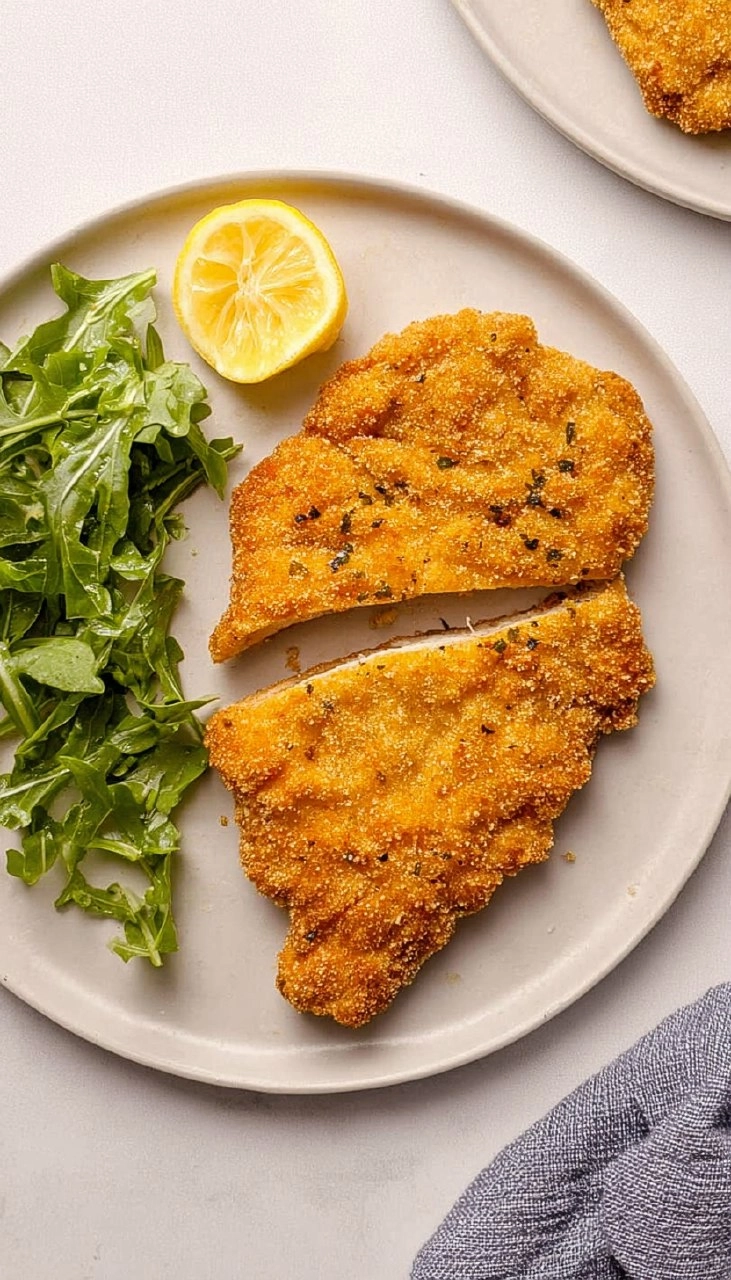
To sum up, crispy Chicken Milanese is a dish that embodies flavor and comfort. Whether you stick to the classic recipe or add your unique twist, this dish is sure to become a timeless favorite in your kitchen. Don’t hesitate to play around with the ingredients or pair it with your favorite side dishes. Enjoy every crispy bite!
Recipe FAQs
Can I use chicken thighs instead of breasts?
How can I make this recipe gluten-free?
What’s the best side dish to serve with Chicken Milanese?
Can I make this recipe ahead of time?
⭐ If you make my Chicken Milanese recipe, Awesome! I would love to hear from you. Please give it a star rating and review below! 👇

Chicken Milanese
Chicken Milanese is a delightful dish featuring tender, thinly pounded chicken coated in a crispy layer of seasoned breadcrumbs. Perfect for a quick dinner or a comforting meal, this recipe brings irresistible flavor to your table with minimal prep. Serve it fresh with a spritz of lemon for an extra zing!
- Prep Time 20 minutes
- Cook Time 30 minutes
- Yield 4 1x
Ingredients
- 2 boneless, skinless chicken breasts
- ¾ cup all purpose flour
- 1 teaspoon salt
- ¼ teaspoon pepper
- 1 lemon, zested (optional)
- 2 eggs
- 1 cup fine seasoned bread crumbs
- ¼ cup canola or vegetable oil (plus more if needed)
- lemon wedges for serving
Instructions
- Butterfly the chicken breasts by slicing through them completely so you have two thin pieces. Place them flat on a cutting board, cover with plastic wrap, and pound them until they are very thin.
- In three shallow bowls, mix the flour, salt, pepper, and optional lemon zest in the first bowl. This zest will enhance the flavor.
- Whisk the eggs in the second bowl.
- Pour the breadcrumbs into the third bowl.
- Heat the oil in a large skillet over medium heat, ensuring enough oil is present to come halfway up the sides of the chicken. Adjust the amount of oil based on pan size.
- Coat each piece of chicken in the flour mixture first, then dip in the egg, and finally cover in breadcrumbs, shaking off excess at each stage. Arrange on a plate without overlapping until ready to fry.
- Fry the chicken in the hot oil for about 3-4 minutes per side, depending on thickness, until golden brown and cooked through at 165℉. Avoid overcrowding the pan; cook in batches if needed, adding more oil as necessary.
- To keep the chicken warm between batches, use a wire rack placed on a sheet pan in a 300℉ oven. If chicken browns too quickly, use a wire rack in the oven at 350℉ until fully cooked.
- Serve hot with lemon wedges if desired.
Notes
Using lemon zest adds a refreshing taste, but it can be omitted if preferred.
Make sure to pound the chicken evenly for consistent cooking time.
Keep a close eye on the chicken while frying to prevent burning and ensure it’s cooked thoroughly.
Nutrition
- Serving Size: 1 piece
- Calories: 350
- Sugar: 1g
- Sodium: 700mg
- Fat: 18g
- Saturated Fat: 3g
- Unsaturated Fat: 15g
- Trans Fat: 0g
- Carbohydrates: 25g
- Fiber: 2g
- Protein: 25g
- Cholesterol: 150mg
Nutritional information is an estimate. The nutritional values for your final dish may vary based on measuring differences and products used.